
Get started with printing
Enter your printer model number to get steps for printer installation
Step by step procedure to unbox and
install new printer
Setting up a new printer may seem daunting, but with the right steps, it can be a breeze. Whether you’ve purchased an inkjet, laser, or even a 3D printer, this step-by-step guide will help you get started.
1. Unboxing and Positioning

Unbox: Carefully remove the printer from its packaging. Ensure that all the included accessories and manuals are present.
Position: Find a suitable, stable location near your computer, preferably away from direct sunlight or extreme temperatures. Ensure there’s adequate ventilation and space around the printer.
Power Connection
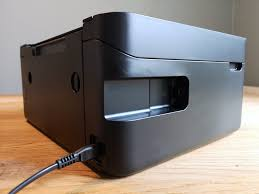
Plug In: Connect the power cord to the printer and an available outlet.
Power On: Turn on the printer using the power button. Many modern printers will have an initial setup wizard on their display screen.
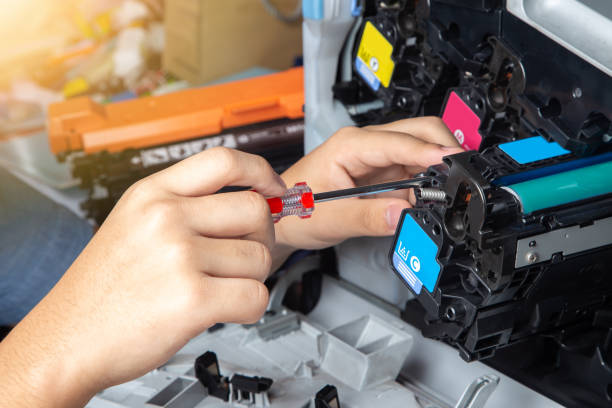
Inserting Ink or Toner Cartridges
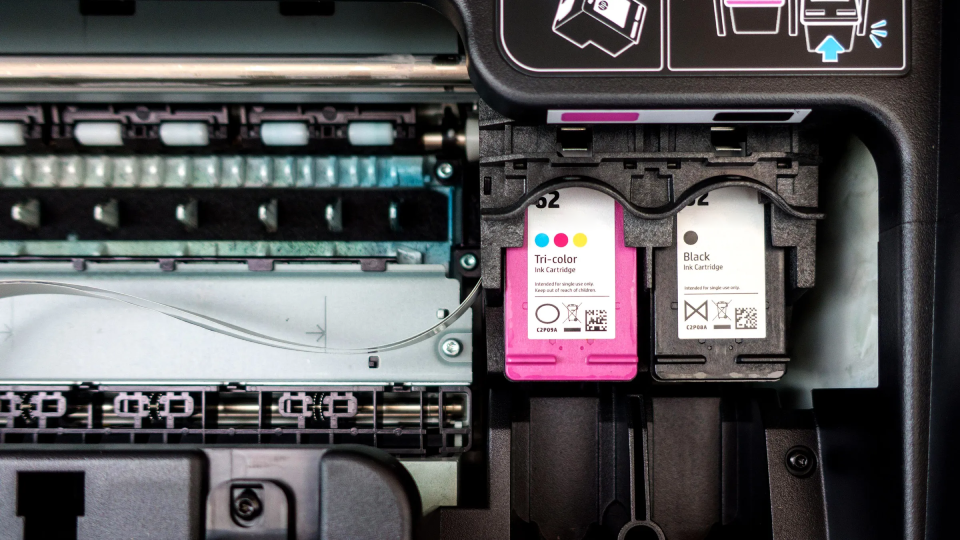
Open Access Door: Most printers have a front or top access door.
Insert Cartridges: Remove the protective tapes from the cartridges and insert them into the designated slots. Make sure you hear a click, indicating they’re securely in place.
Load Paper
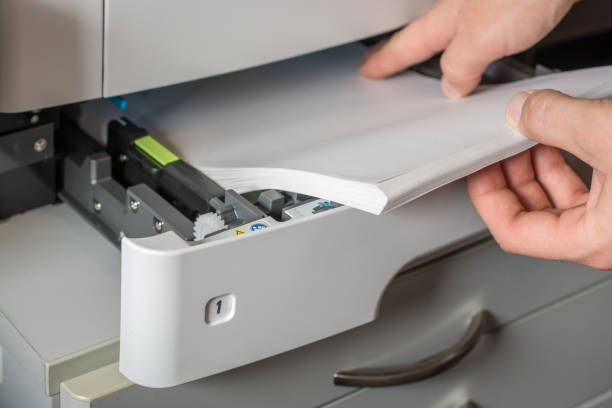
Paper Tray: Open the paper tray or feeder. Adjust the width guides to fit your paper size.
Insert Paper: Stack paper neatly and insert it into the tray, ensuring it’s aligned with the guides.
Software Installation

CD/DVD: Some printers come with an installation CD. Insert it into your computer and follow the on-screen instructions.
Online: For those without a CD drive, or if you prefer the latest software, visit the printer manufacturer’s website. Search for your printer model and download the relevant drivers and software.
Follow Prompts: Install the software, ensuring you select the correct settings for your needs.
Connecting the Printer to Your Device
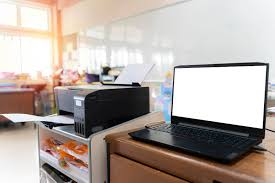
Wired Connection: If your printer uses a USB or Ethernet cable, connect it to your computer or network.
Wireless Setup: For Wi-Fi-enabled printers:Built-in Menu: Navigate the printer’s built-in menu to find Wi-Fi settings.
Read: Everything to Know About Wireless Printers
Connect: Select your network and enter the password. Some printers may also offer WPS (Wi-Fi Protected Setup) which simplifies this process.
Bluetooth: If your printer uses Bluetooth, ensure both your device and the printer’s Bluetooth are turned on and pair them.
Test Print
From Computer: Once connected, try printing a test document or photo from your computer.
From Printer: Some printers have a test or demo mode available via their menu.
Read: Benefits of Doing a Printer Test Page for Windows and Mac
Mobile Printing: Install relevant apps on your smartphone or tablet for mobile printing. Examples include AirPrint for Apple devices or Google Cloud Print.
Read: How to Print From My Phone
Scan and Copy: If your printer has scanning or copying capabilities, test these functions to ensure they’re working properly.
Regular Maintenance
Updates: Periodically check for software and firmware updates to ensure optimal performance.
Read: What Is a Printer Firmware Update?
Cleaning: Follow the manufacturer’s guidelines for cleaning and maintenance to extend the printer’s lifespan.
Need a Printer But Have a Limited Budget?
Searching for a top-notch printer that’s easy on the wallet? Dive into our selection of budget-friendly, refurbished printers at inkjets.com!
Each of these printers feels and functions as if it’s brand-new, paired with authentic OEM ink cartridges to ensure quality prints every time. What’s more? We stand by our promise with a 90-day warranty on every purchase, ensuring you peace of mind with every print. Don’t miss out on unbeatable value!